소스:
https://github.com/julyinsung/springboot/tree/master/boot_mvc_war_deploy환경:
Type: gradle, Packaging: Jar, Java Version: 1.8Boot Version: 1.5.4
Dependencies: Web, Thymeleaf
Tomcat: 1.8
개요:
Spring Boot을 이용하여 Web 프로젝트를 만들고 이를 war파일로 만들어서 Tomcat에 배포devtools를 이용하여 java파일 수정시 자동으로 서버 재시작
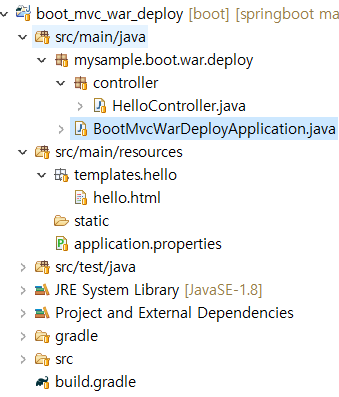
프로젝트 구성은 아래와 같다.
프로젝트 생성후 메인 클래스에 아래와 같이 configure() 메소드를 추가한다.
@SpringBootApplication
public class BootMvcWarDeployApplication extends SpringBootServletInitializer {


 @Override
 protected SpringApplicationBuilder configure(SpringApplicationBuilder application) {
  return application.sources(BootMvcWarDeployApplication.class);
 }


 public static void main(String[] args) {
  SpringApplication.run(BootMvcWarDeployApplication.class, args);
 }
}
build.gradle파일에 아래 코드를 추가한다.
dependencies compile('org.springframework.boot:spring-boot-devtools')을 추가한다.
apply plugin: 'war'

war {
    baseName = 'ROOT'
    //version = '0.0.1-SNAPSHOT'
}

dependencies {
 compile('org.springframework.boot:spring-boot-starter-thymeleaf')
 compile('org.springframework.boot:spring-boot-starter-web')
 compile('org.springframework.boot:spring-boot-devtools')
 testCompile('org.springframework.boot:spring-boot-starter-test')
}
[프로젝트 명 마우스 오른 클릭 > Gradle > Refresh Gradle Project ]를 하면 Gradle Tasks 의 build Task에 war 이 생성된다. war를 클릭하면 파일이 생성되며 생성된 파일은 [프로젝트폴더 > build > lib] 에 위치한다.
ROOT.war로 생성된 파일을 Tomcat에 넣고 실행하면 결과를 볼 수 있다.

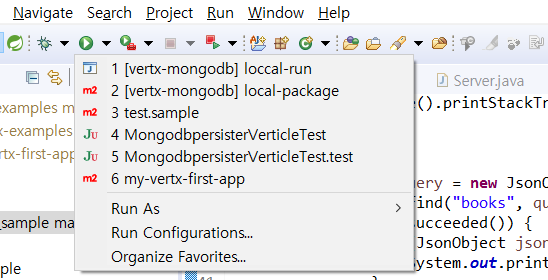
Tomcat에 배포하지 않고 IDE상에서 확인하기 위해서는 [Run As > Spring Boot App] 을 실행한다.