소스:
https://github.com/julyinsung/springboot/tree/master/boot_mvc_security환경:
Type: gradlePackaging: Jar
Java Version: 1.8
Boot Version: 1.5.4
MyBatis, MySQL, Thymeleaf, Web, Security
참조:
thymeleaf security : http://www.thymeleaf.org/doc/articles/springsecurity.htmlsecurity tag lib : http://docs.spring.io/spring-security/site/docs/4.2.x/reference/html/taglibs.html
security javascript expression: https://stackoverflow.com/questions/41434231/use-spring-security-in-thymeleaf-escaped-expressions-in-javascript
spring security reference : http://docs.spring.io/spring-security/site/docs/4.2.3.RELEASE/reference/htmlsingle/
spring boot security 예제: http://cusonar.tistory.com/10
spring boot security 예제: http://zgundam.tistory.com/51
spring boot security 예제: http://www.namooz.com/2015/12/07/spring-boot-thymeleaf-10-spring-boot-security-final/
spring boot security 예제: http://syaku.tistory.com/286
개요:
user, role 테이블 생성, login page 생성하여 Spring Security를 연습한다.설명:
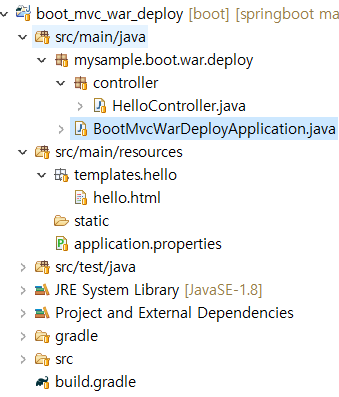
프로젝트 구조는 아래 그림과 같다.
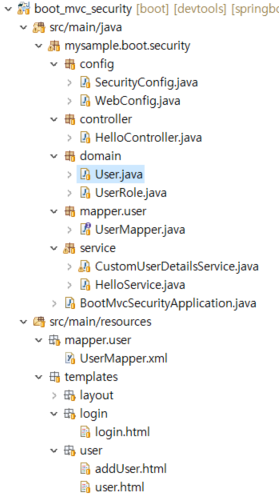
Security설정은 SecurityConfig.java 클래스에서 한다.
소스에서 첫번째 configure메소드에서는 접근제한을 설정하고
두번째 configure메소드에서는 패스워드 암호화 설정
마지막 passwordEncoder메소드는 암호화 방식을 Bean으로 등록하여 다른 클래스에 주입하여 사용할 수 있다.
CustomUserDetailsServioce.java
UserDetailService를 implements한 CustomUserDetailsServioce.java는 login페이지에서 받은 login_id로 user테이블과 role테이블을 조회하여 UserDetails을 implements한 User 도메인에 적재한다.
user 와 role 테이블의 sql은 여기 참조.


로그인페이지와 로그인후 페이지는 아래와 같다.
로그인후 상단에 로그인 정보를 보여주기 위해서는 security tag가 필요한데 build.gradle 설정페이지의 dependencies에 compile('org.thymeleaf.extras:thymeleaf-extras-springsecurity4') 를 추가한다.
 |
| 로그인 화면 |
 |
| 로그인 후 |
로그인후 상단에 뿌려지는 정보는 default.html 페이지에서 확인할 수 있다.
먼저 페이지에 xmlns:sec="http://www.thymeleaf.org/thymeleaf-extras-springsecurity4" 을 추가(소스는 여기)하고 sec:authentication 태그를 이용한다.(소스는 여기)